The easiest way to install Android on Raspberry Pi 5
We have entered 2024 and now Raspberry Pi has been recognized, popular and used all over the world, it’s not like few years back that, we don’t find solutions if we encounter any issue on our raspberry pi machine which tiny but still very much productive at the same time. So, Installing Android on a Raspberry Pi 5 can be a fun project, but it requires some technical knowledge and patience. Here’s a detailed guide to help you through the process, if you want to read about running Android APK on Raspberry Pi 5 read here. Here is the process of installing Android on Raspberry Pi 5:
#1 Make Sure You Have Required Materials
Before you start, make sure you have the following items:
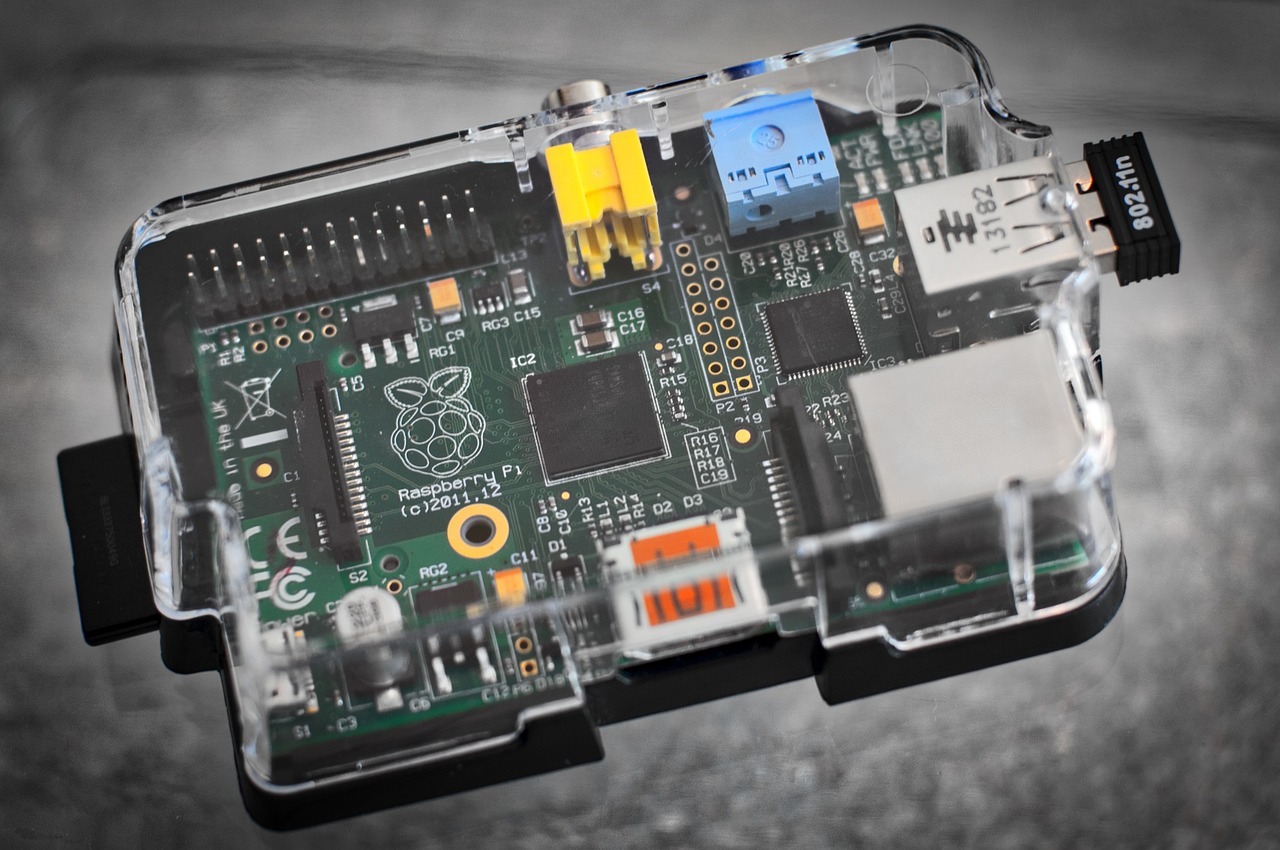
- Raspberry Pi 5 (with power adapter and microSD card)
- MicroSD card (at least 16GB)
- HDMI cable
- USB keyboard and mouse
- A computer with an SD card reader
- Internet connection
#2 Downloading Required Files
You’ll need to download the necessary files before proceeding:
- Android image for Raspberry Pi 5: You can find various custom Android images tailored for Raspberry Pi 5 on websites like XDA Developers or GitHub. Look for the most recent and stable version
- Etcher or Raspberry Pi Imager: You’ll need one of these tools to flash the Android image onto the microSD card
#3 Now We Must Flash Android Image onto MicroSD Card
Once you would have downloaded the Android image and chosen your flashing tool:
- Insert the microSD card into your computer’s SD card reader
- Open Etcher or Raspberry Pi Imager
- Select the Android image file you downloaded
- Choose the microSD card as the destination
- Click on “Flash” and wait for the process to complete
#4 Now Let’s Set Up Our Raspberry Pi 5
Now, it’s time to set up your Raspberry Pi with the Android image:
- Insert the microSD card into the Raspberry Pi5
- Connect the HDMI cable to a monitor or TV
- Connect the USB keyboard and mouse
- Plug in the power adapter to turn on the Raspberry Pi
#5 Initial Configuration
So, when we would power on the Raspberry Pi, we should see the Android boot screen. Follow the on-screen instructions to complete the initial setup, which typically includes:
- Choosing the language and region
- Connecting to a Wi-Fi network
- Signing in with a Google account (optional)
- Agreeing to terms and conditions
#6 Exploring Android on Raspberry Pi5
Once the setup is complete, we get greeted with the Android home screen. From here, we can:
- Install apps from the Google Play Store (if available)
- Customize settings such as display resolution, sound, and network preferences
- Explore pre-installed apps and features
#7 Always Troubleshoot For The Errors
If you encounter any issues during the installation or setup process, here are some common troubleshooting steps:
- Make sure you’re using a compatible Android image for Raspberry Pi 5
- Verify that the microSD card is properly inserted and has been flashed correctly
- Check your connections to ensure all cables are securely plugged in
- Look for any error messages or logs on the screen for clues about what might be wrong
- Search online forums or communities for solutions to specific problems you encounter
#8 Experimenting and Enjoying
Once you have Android up and running on your Raspberry Pi 5 mini pcs, feel free to experiment with different apps and settings. Keep in mind that performance may vary depending on the specific Android image and the capabilities of your Raspberry Pi 5.
So, we must understand that installing Android on a Raspberry Pi is great, it could create initial issues for us but don’t worry there’s always a way out for such issues and after researching on that you would get to resolve those issues and keep enjoying the process of using it. Don’t hesitate to seek help from online communities or Raspberry Pi 5 forums which are in huge numbers everywhere, look for help on reddit where the subreddits are in massive number for this single thing.