How to Turn a Windows PC into Mac OSX Yosemite

Over the past few years, Mac OSX Yosemite has not only become more and more useful, but it has also become more and more beautiful with the latest reiteration of Max OSX, Yosemite. With the introduction of Yosemite, we saw a brilliant new design overhaul that flattened the whole design of the OS, bringing in new fonts, flatter, more modern icons and much more that gave OSX a more attractive design that in previous years.
 Some Windows 8 users may be in envy after their current software is far less than what they signed up for with some odd UI choices and the annoying Metro design that has people confused as to why it’s there. However, there is a simple programme that allows you to not only reskin your icons, but also add in a bunch of cool new features such as the dock, menu bar and more to your Windows PC to make it look more like a Mac computer.
In the past we’ve seen some extremely complicated ways of doing this but we have a very simple, downloadable programme for you here today that will allow you to simply download a programme that simply requires a few clicks and it will do the rest for you.
You can find the link here. The link provides instructions for Windows 7, Windows 8 and even the Windows10 Developer Preview which shows some dedication to it’s cause. This is the programme you will need to follow and so let’s get on with the steps to avoid going wrong somewhere along the line.
STEP 1. Simple download the Programme and extract the file
Go to the link above and scroll down a little until you see a button that says ‘Download’. Hit that and let the file download to your computer. Once it has finished downloading, find the file and extract all the contents to whenever you’ll find it easiest to find it again. This should then produce another folder simply with the piece of software you’re going to be using in it.

STEP 2. Begin the Programme and let it load
After extraction, simply double click on the file that is made and it should bring up a little window like below and then you’ll know that the programme is starting up how it should.

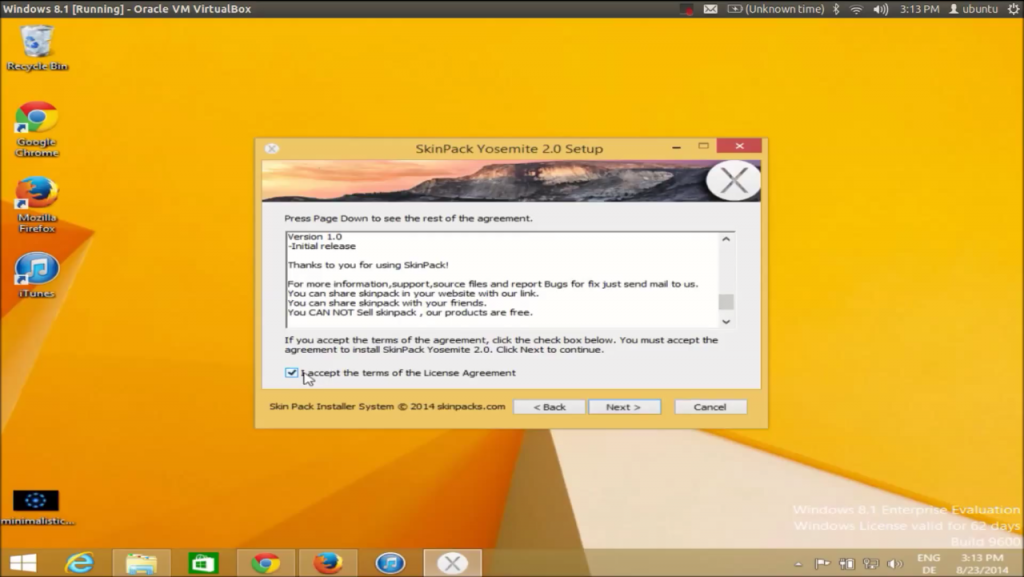
STEP 3. Progress through the Terms and Agreements
After you’ve extracted and opened the software, you simply need to read the intro, agree to the terms and conditions and then proceed to the next step of making your Windows PC look more like an iMac/Macbook.

STEP 4. Decline the options until you see the last page
With programmes like these you often experience problems with the software, mainly when it tries to install additional software to your computer that you don’t need such as browsers that have paid adverts everywhere and more. However, these can all be bypassed if you simply give each tab a quick read and decline all the options. Some of the buttons may not show up with any text, but just ensure you’re not hitting ‘Next’ and you’ll be fine!

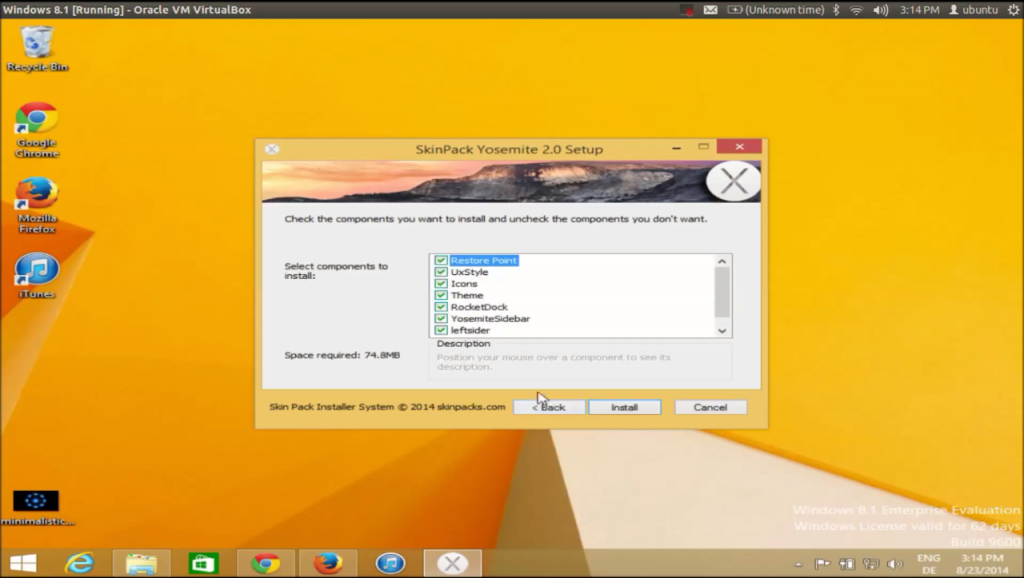
Step 5. Ensure all these Options are Ticked and then Click Install
All these options are required to ensure that you get all the features that you’re looking for from this install. They should all be ticked by default and therefore you shouldn’t have to do anything, but just give them a quick once-over to ensure they are.

Step 6. Let the installation run through
And you should eventually end up with something that looks a little bit like this.